Showing posts with label ice cream. Show all posts

Wednesday, 21 October 2015

A 'DIY' Ice Cream Party

My children are growing up. Exciting, sad, scary, but mainly exciting. Also a little exhausting! Now that they are getting older, their vocabularies are expanding, and requests for parties and party paraphernalia are becoming terribly grandiose! I guess I should be thankful that they have such vivid imaginations.


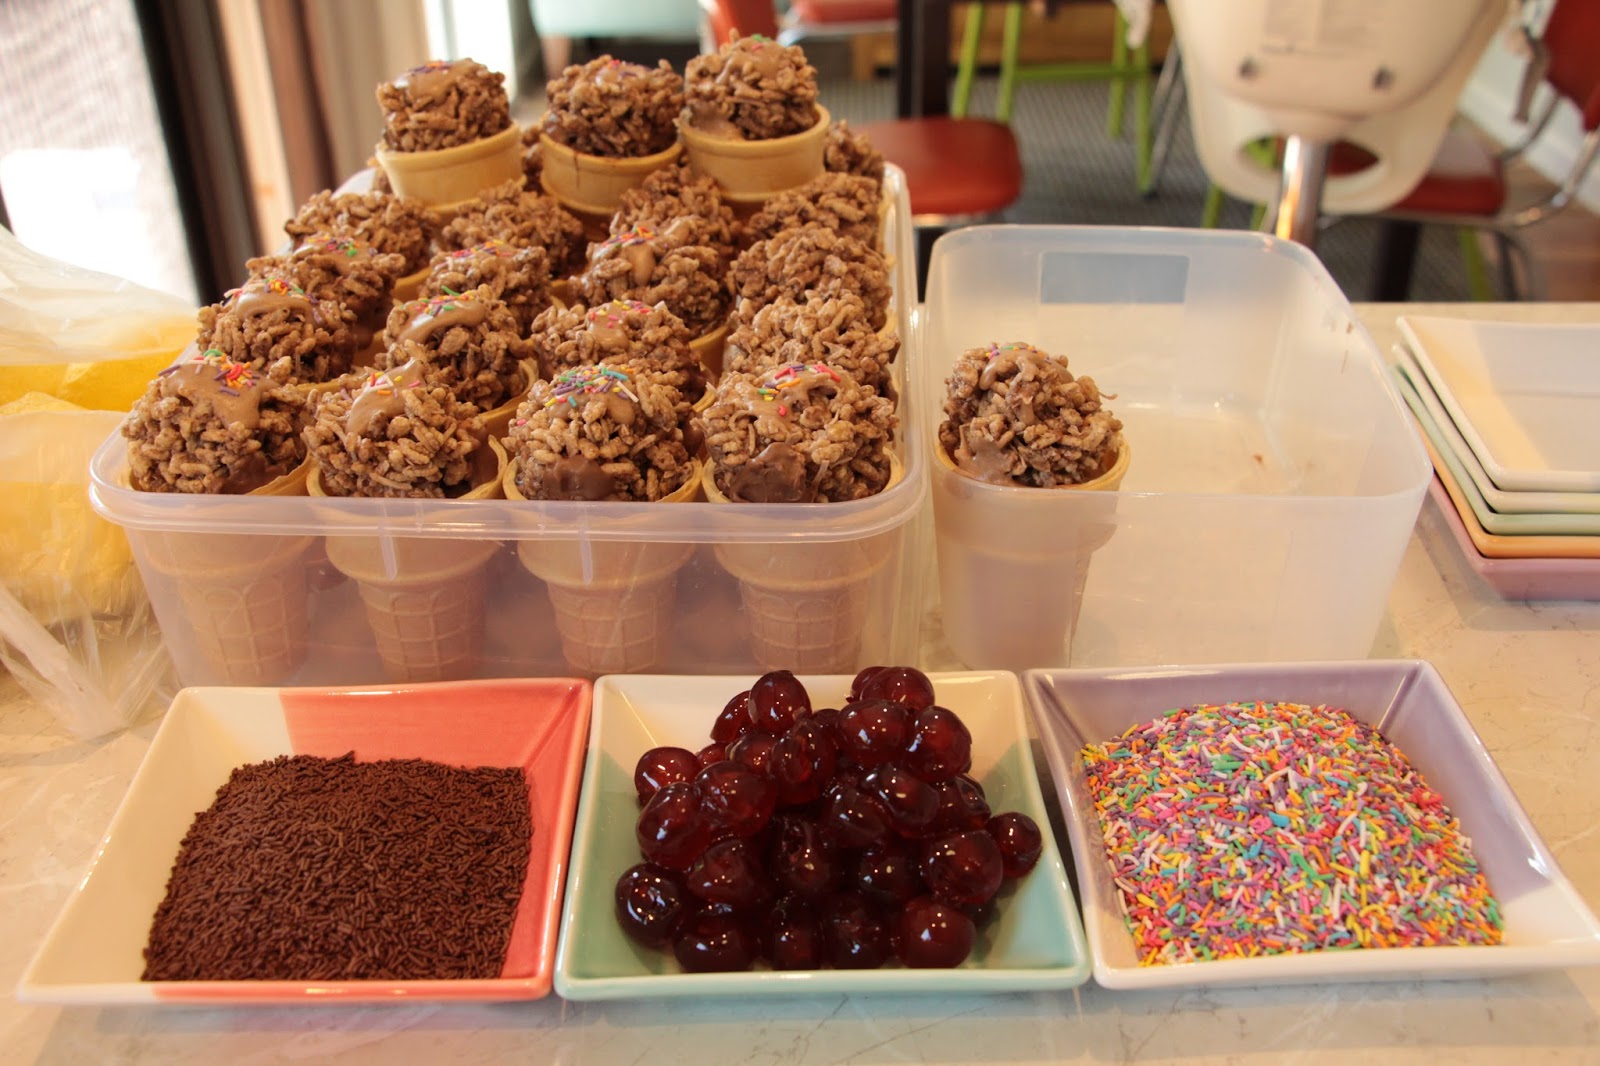
No Melt Ice Creams! (or chocolate crackles in cones)

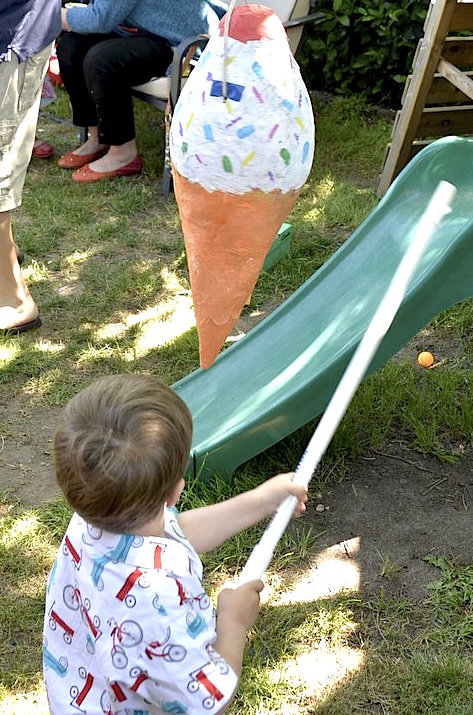
Handmade Ice Cream Piñata
I think I got off pretty easy with Arthur's request for an Ice Cream Party. Previous party ideas had included a cake with pretty much the entire cast of Thomas the Tank Engine.

I had planned to make it easier on myself and just buy most of the food, decorations, games etc. However it was terribly difficult to find a simple ice cream piñata or ice-cream themed decorations and other such items (at a price that was appropriate to a 3rd birthday celebration!)

And so, paper mache, painting, cutting, baking, glueing and sticking ensued. The Handmade Challenge List, and mummy getting sleep went out the window. Reinforcements were called in, in the form of Nannie and Papa (and don't forget Pinterest!)


The morning of the party was overcast and threatening rain. The inside? or outside? questions began. With about 30 minutes to go before party time, we decided to take a chance on outside. Good decision! The afternoon was just perfect and everyone enjoyed themselves immensely (I believe).


Perfect Spring afternoon

Thanks to Handy Hubby, we had some pretty awesome party games. Pin the ice cream in the donkey's mouth. We also set up a little ice cream stand where the kids were able to serve 'ice creams' using scoops, ping pong balls and recycled industrial cotton reels! (which we procured from a local jean manufacturer). The ice cream stand was a huge hit with all the kids.


Fluorescent ice cream anyone?

No blindfolds! The concept wasn't quite grasped by 1-4 year olds!

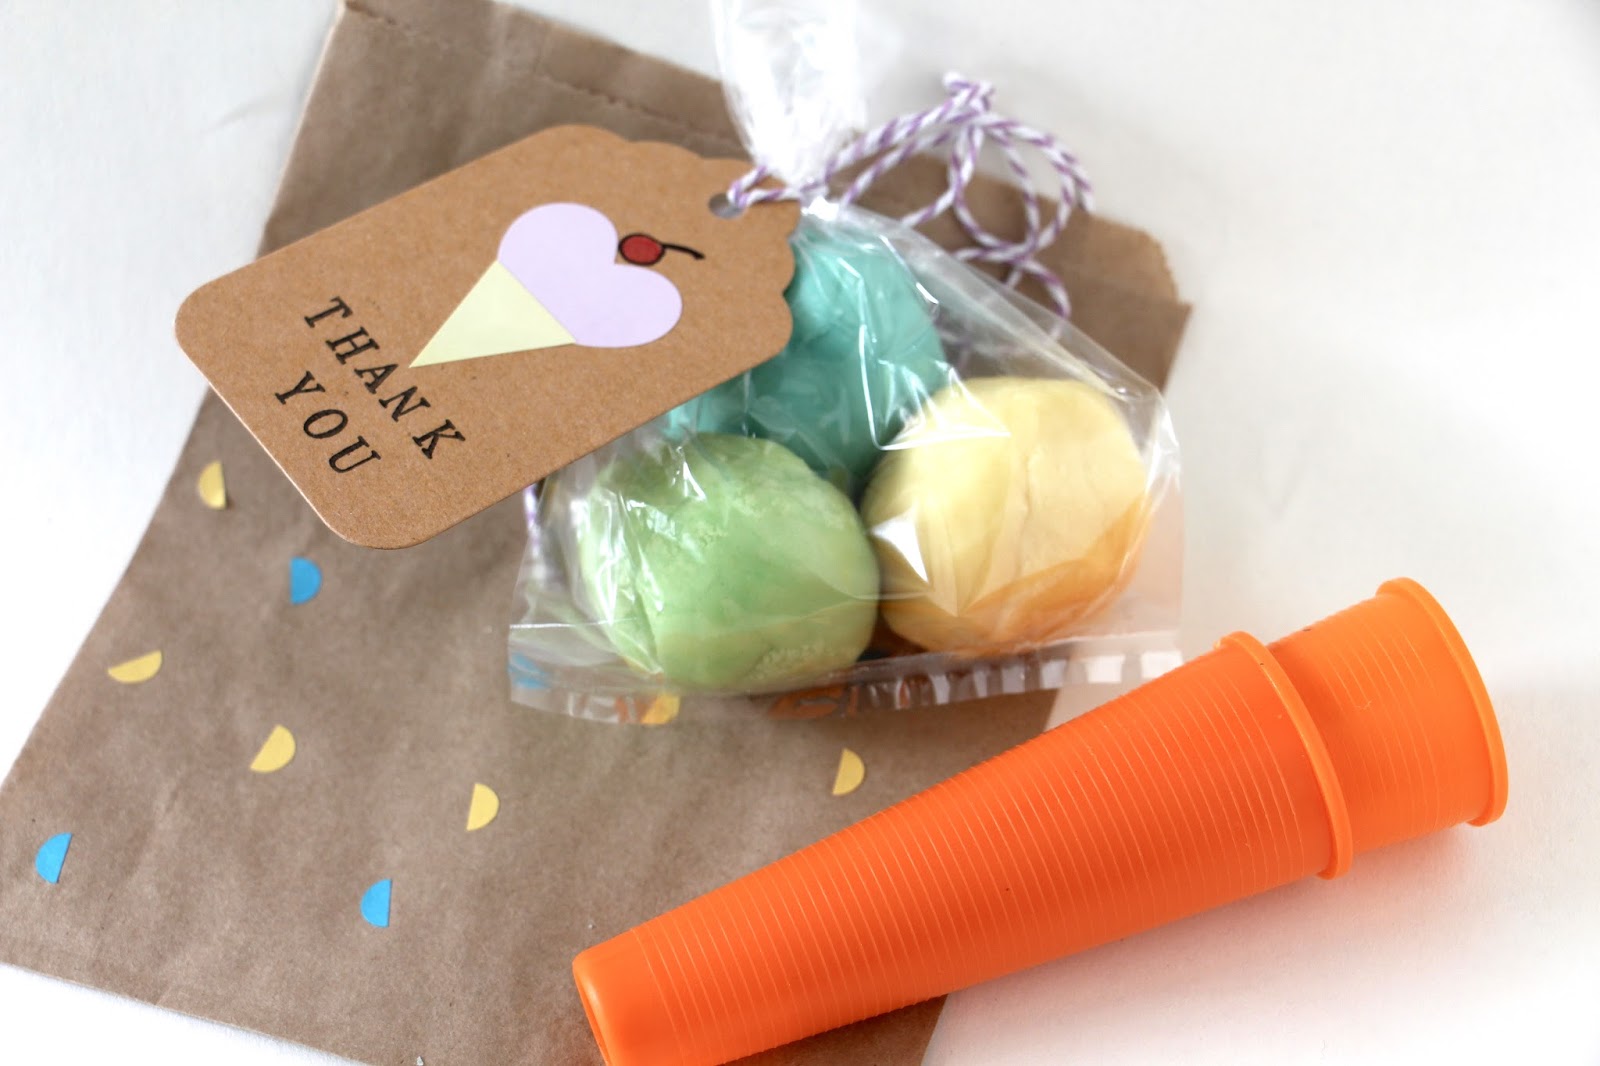
Can't forget the party bags
The ice cream sprinkle party bags were made using goodies from The Make Good Co and contained handmade play dough and another cotton reel cone for more ice cream fun.


The cake, oh the cake! This was actually easy and fun! A simple chocolate cake layered together with buttercream icing. An upturned cone (filled with a couple of chocolate crackles) then chocolate ganache poured over the top. Add sprinkles and you have yourself an 'ice cream cake'! Which was served with actual ice cream and your choice of topping!

Arthur attempting to extinguish the candles via head-butt


Felix has been putting in requests for his 5th Birthday (February) for the past three months...


What has been your favourite party to make for?


Wednesday, 30 September 2015

Ice Cream Party, Easy as Thank You Tags!

As I am writing this post, it's hardly ice-cream weather. We've had some small glimpses of spring, but it's not sunshine and swimwear just yet (thank heavens says my winter body!)

It is less than a month until my little little man turns three, and he has decided he wants an Ice-Cream Party. Fingers crossed the weather comes to the party!

I am pretty excited at his request actually. He had previously asked for a Thomas cake, which was to include pretty much the entire cast of Thomas and Friends. An ice cream party provides the opportunity for a lot more creativity, possibility and I think fun!

When he made this request, I just happened to have my little bundle of goodies from The Make Good Co. in front of me and was hit by a brain wave. So I have decided to share with you my first little DIY in a while. 


Easy Ice Cream Thank You Tags


Oooh I love stationery

What You Need;

Felt Tip Pens - One Black, One Red
Large Kraft Gift Tags
Alphabet Stamps + a black ink pad (or your message can be handwritten)
Pastel Heart Stickers - your choice of colour for the ice-cream
Mini Bunting Stickers
Mini Polka Dot Stickers - bright pink for the cherry or a red felt tip pen

It's seriously very simple! 

1. Get your gift tags.

2. Put down a heart sticker close to the top in the centre as shown (leave room for a cherry). Then place a mini bunting sticker over the top where the sides of the heart just meet with the corners of the triangle.


See, not rocket science...

3. If you have some bright pink dot stickers, put one down above the heart in the centre for a cherry. Draw around the circle and make a stalk with the black pen. If you don't have a dot sticker, simply colour the circle in red as I have.


Yummy!!
4. Lastly go to town with your little stamps and stamp out your message or handwrite it. Such fun!

You can get all of the things you need to make these from The Make Good Co. They ship worldwide and have an amazing range of stickers, tags, bags and even yarns for all your crafty needs. 


This is not a paid post, however I am currently a brand ambassador for The Make Good Company who have kindly provided the products I've used for this DIY.


Has preparing for a party, ever led you to come up with a crafty handmade solution?